
With 11.7 XPS update, render groups 26/27 and 28/29 got rebuilt, with additional b&w mask texture defining where the environmental map should be displayed (and this is actually great).
If you use anything I ported that bases upon those render groups (usually hair/eyeball/glass/armour gloss), as long as you load .mesh files, you're ok (thou you might get warnings, I got those shut off), but if you're forced to load mesh.ascii for some reason, XPS will auto generate missing blank masks. So, to get textures that would suffice as masks, open diffuse texture of given render group in any program that reads channels. The mask will be the alpha channel of the diffuse. Simply copy alpha and paste on a new file and save it as image, then with XPS' material editor, set it as a mask (then you can even save the diffuse as 24bit TGA to reduce its size). This prooobably should work and restore model to previous looks.
However, I just went through HDD and SSD wipe, and I have no 3D or raster graphics editors installed yet, so I can't guarantee the looks will be identical without some tinkering with the mask or the specular intensity (I have to see if the mask is grayscale or just simple black and white - and this is a difference, since grayscale would control intensity as well). I would have to test it, but have no way to do that atm, so this is just a small FYI in case you were wondering what is going on.
Ems' stash of old and weird.
-
Dazzy

- Site Admin
- Posts: 10369
- Joined: Sat Aug 18, 2012 3:15 am
- Custom Rank: WestAllen best ship.
- Location: With Grant Gustin :ggl:
- Contact:
Re: Ems' stash of old and weird.
I had the exact same thing when working on my current set of models, all I did was add a small black image and made that the mask, it gave the same effect that I originally had in the older version.
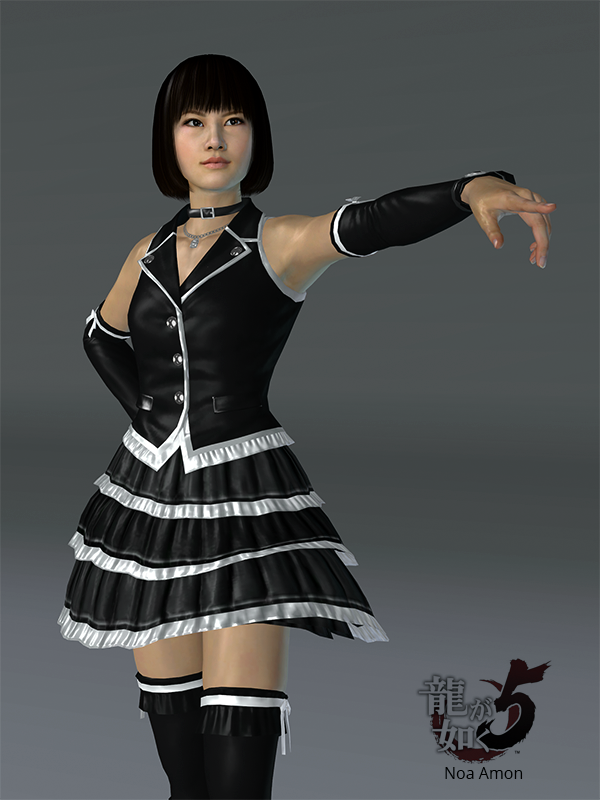
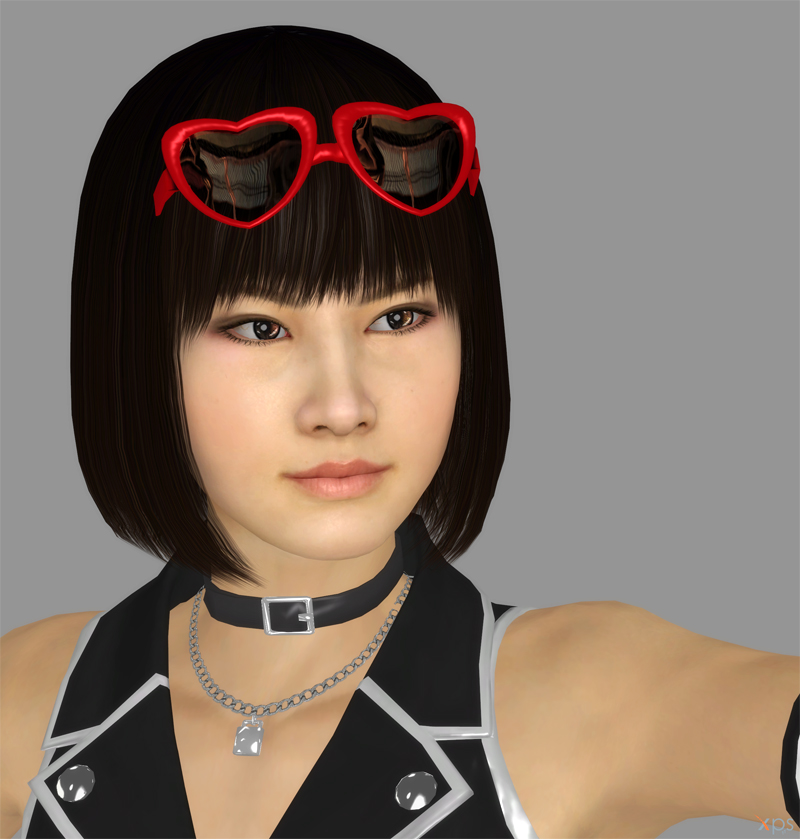
Y5 - Noa Amon
I totally forgot about this... I also know that some images from posts were lost due to account wipeage, but I'm too lazy to fix those.
- Includes optional glasses, they have a bone.
- Don't use backface culling or force culling.
- Swapped arms (not palms) with some other model, because the original were noodly thin and posed awfully.
- Re-converting may ruin meshes order and cause transparency issues.
- Pictured pose included.
- Includes optional glasses, they have a bone.
- Don't use backface culling or force culling.
- Swapped arms (not palms) with some other model, because the original were noodly thin and posed awfully.
- Re-converting may ruin meshes order and cause transparency issues.
- Pictured pose included.
Y5 MP
- you caaaaan use backface culling for that left sleeve I couldn't be bothered to fix, but don't be surprised the inner skirt vanishes. Preferably don't use bfc
- hair transparency sucks, if you wanna, split some hair strands by yourself.
Note to self: use Edge Split modifier on stuff like her earrings.
- hair transparency sucks, if you wanna, split some hair strands by yourself.
Note to self: use Edge Split modifier on stuff like her earrings.
Last edited by Ems on Tue Apr 25, 2017 5:37 am, edited 1 time in total.
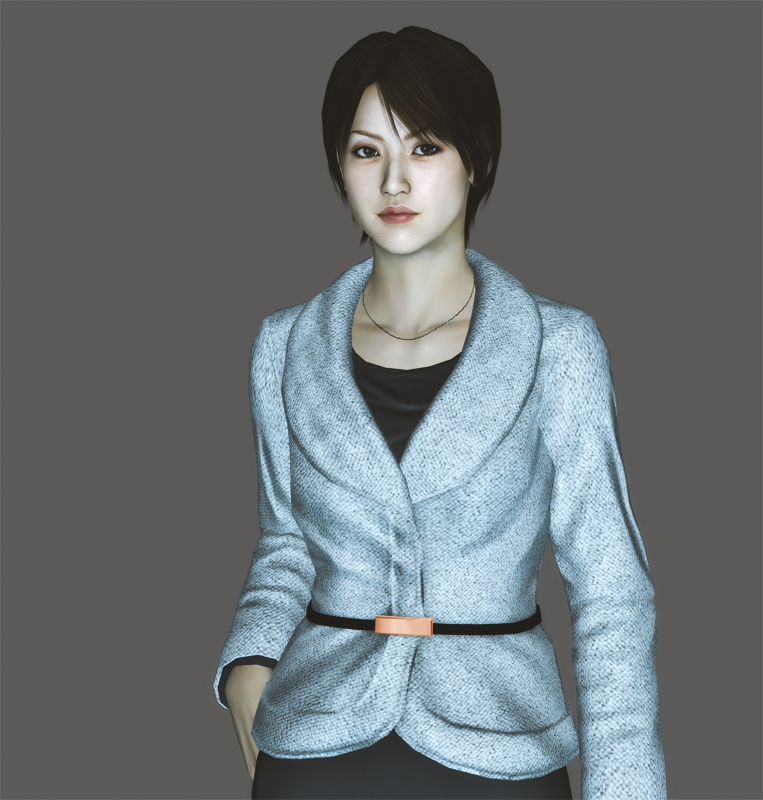
RM - Nil (soaked)
With optional stuff. I never seen anyone releasing this version, and it was rotting in my "to do" folder. The difference from the standard are textures and soaked hair mesh.

-
artificialfleshling
- Posts: 2
- Joined: Wed Apr 19, 2017 6:34 am
Re: Ems' stash of old and weird.
I'm new to all of this, but thank you so much for these.
Re: Ems' stash of old and weird.
You're welcomeartificialfleshling wrote:I'm new to all of this, but thank you so much for these.
Re: Ems' stash of old and weird.
Useless port! Because I want! I tried to rig something from scratch for the first time, and why the heck not upload it. May not be perfect. Pose lids by moving on y and z axis, alternatively, in blender move the roots of lids close to the root of the eyeball bone, so that you can pose lids only by rotating. Eyes aren't spheres but spherical caps, so don't pose excessively either.
This is a minipet named Zuzu, aqquired from ToT bags during halloween event in Guild Wars 2. And my favorite kitty mini.
This is a minipet named Zuzu, aqquired from ToT bags during halloween event in Guild Wars 2. And my favorite kitty mini.

Mobius Final Fantasy
Since Mobius FF is going abandonware, here's what I managed to port to XPS, the folder is updated, not too often, mind you, but gradually. For XPS 11.8.9 or higher!
This is not with the intention of porting every single job that's in the game, I do stuff I like, when I like, just to be clear:
Disclaimers:
- sometimes I port weapons/accessories separately, sometimes I attach them to the model as optional meshes, but most of the time not at all.
- environments use secondary UV sets for lightmaps.
- models heavily depend on back faces, use both backface culling options in XPS, never remove them if editing.
- some of these were ported years ago, so may be not up to standard like the latest ones
- wanna ask anything about my methods, ask ahead.
- MFF uses PBR, so most of the time I need to edit textures to make them look okay in XPS, if you want original, unchanged ones, you have to datamine MFF by yourself.
Last edited by Ems on Sat Jun 13, 2020 6:52 am, edited 1 time in total.
seven
- model in two versions: either classic all-in one with switchable optional items, or the wardrobe version, where first you load the main model, then any addon you require. This is the first time I use it and not sure if all works well, but it didn't cause me any trouble yet. Main advantage over the classic one is that it's easier on the memory, since unwanted addons aren't on the scene.
- use with XPS 11.8.9 and newer - model has more than 4 weights per vertex and using older versions results in degrading them to 4wpv, so let's not go back to that dark history. Ascii backup included in the classic version, but it doesn't retain vertex transparency info, so just in case: hairgloss mesh is intended to be at value of 50.
- I also recommend to hide or lower the intensity of meshes with environmental gloss, when lights on the scene are dim (hairgloss mesh is optional). Same for the eyes, bring down specular gloss value or darken the eye specular map if it's too much - originally he doesn't have any, it was all my "artistic interpretation".
- all associated textures edited to look their best in XPS, and there only. Don't care about any other engines and renderers. Use bloom shader and preferably softer shadows to bring out the best of the model.
- Sculpted eyeball mesh for more realistic eye effect, the glossy mesh is the original shape of it, if you're bothered.
- Hair transparency impossible to correct on, too many crossing planes. Saving pictures at high resolution and shrinking them works well tho (as shown on included pic).
- I couldn't decide for render group for materia, because there's none with environmental and emissive together. Working around it doesn't come out good, emissivity always pops on top. If I think of something new, I'll update (I wanted to add Dave's glow there, but lost my copy).
Any problems, report here.
Changelog:
25-04-2020
first upload
Last edited by Ems on Sun Apr 26, 2020 2:28 am, edited 3 times in total.